COMPLETE PIECES

Silent Streets
Make your way through the foggy streets of the town and reach the Eastside Hotel. Level inspired by Silent Hill 2 Remake.
BLOCKOUTS

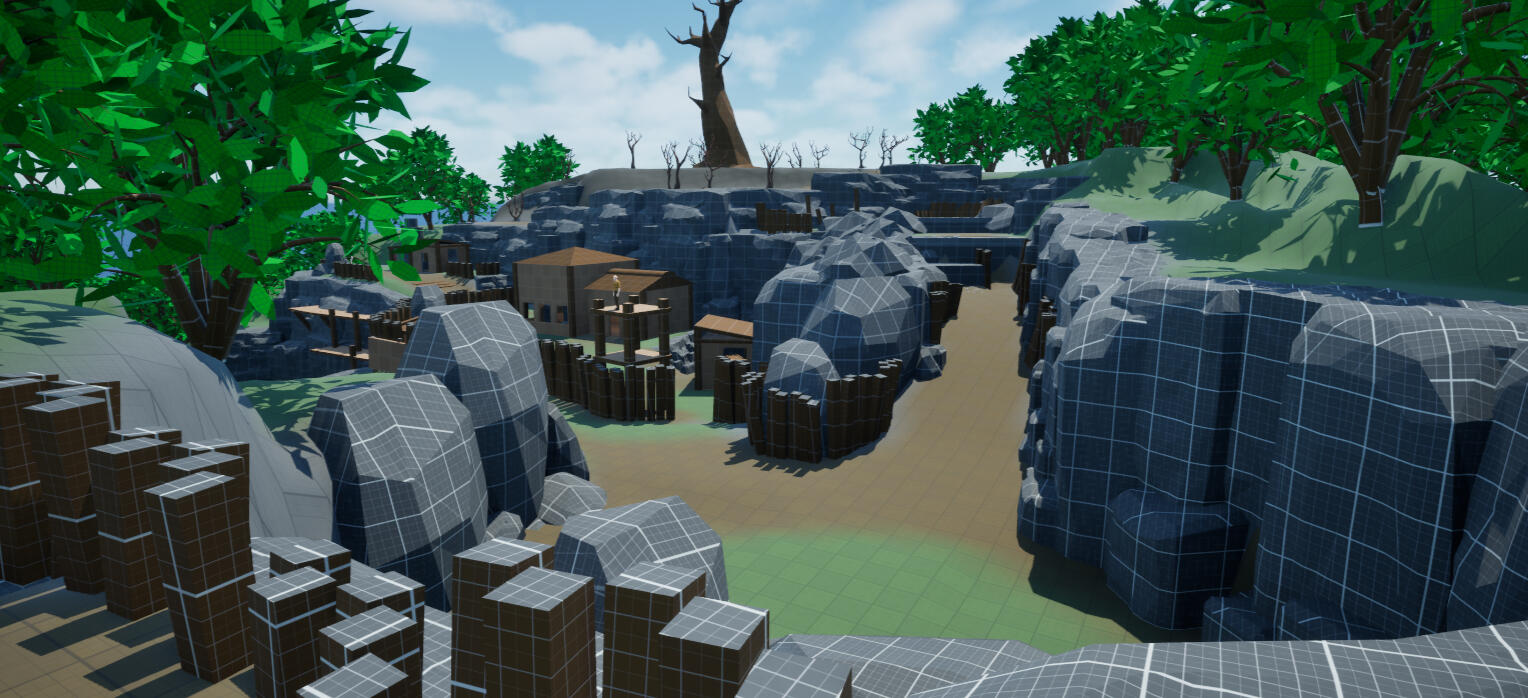
Cursed Mine Camp
Mine Camp started as a small outpost for workers reopening an old quarry. Something they uncovered below released a curse.
silent streets
Unreal Engine 5 with AGLS
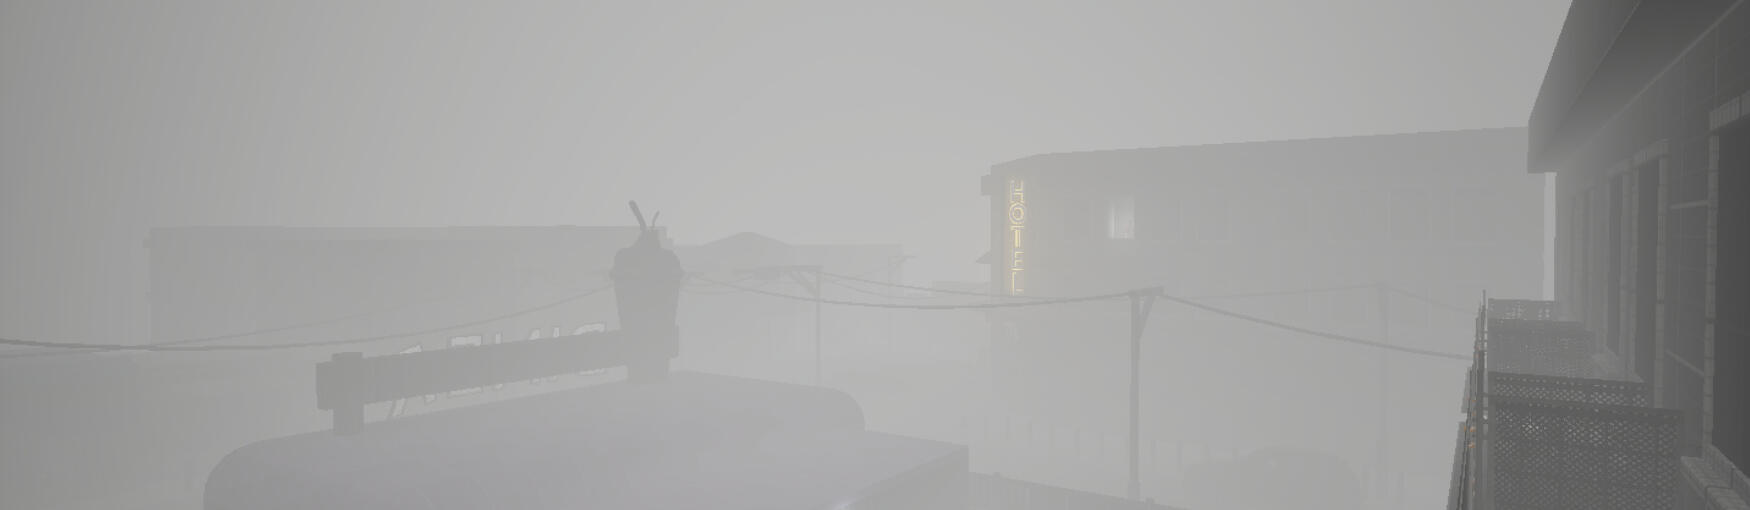
Silent Streets is a level directly inspired by Silent Hill 2 Remake. Creating this location brought me a lot of joy, satisfaction, and valuable experience.The whole process might feel unusual to some of you, but it doesn’t look the same in every scenario. I approach each project individually, guided by my intuition, so let’s go through it together!
Step 1: Idea
The idea was simple: to capture the overall atmosphere of Silent Hill 2, especially the empty, foggy streets of a small American town. I had a clear vision of what I wanted to achieve and the kind of emotions I wanted to evoke in the player.From the very beginning, I felt the level needed a stereotypical American diner, as well as that uncanny ravine that occasionally cuts through the streets in Silent Hill.

As for the gameplay, I aimed for a mix of action and light puzzle-solving, but most importantly, a strong, unsettling atmosphere and careful, slow-paced exploration.
Step 2: Engine, Assets, Tools
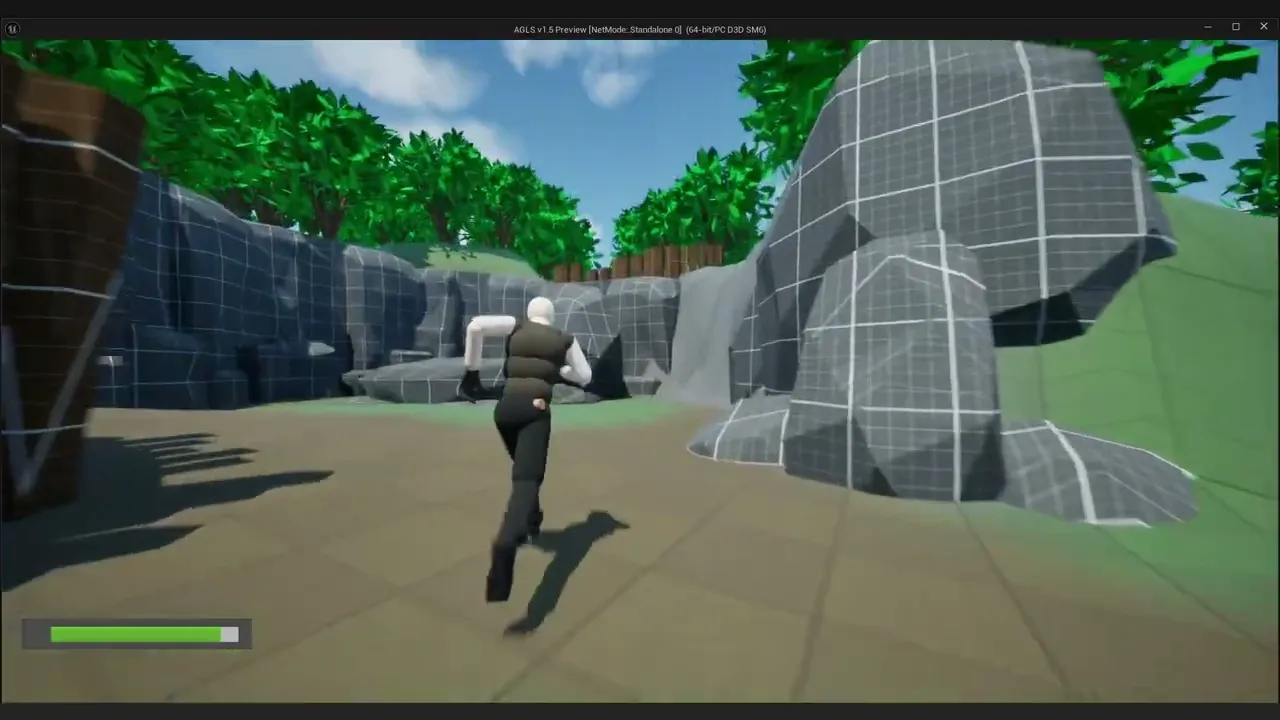
My main tool of choice was, of course, Unreal Engine 5. To speed up the process, I decided to use AGLS v1.6 by Jakub W., which allowed me to focus on the level itself rather than building all the gameplay systems from scratch. It provided a solid player controller along with a range of useful features.I still made a few adjustments along the way, mainly to the camera settings and movement feel, to better match the experience I was aiming for.

The next step was choosing the assets I wanted to use. My go-to tools were Blockout Tools and the Blocking Starter Pack. The first one is perfect for a fast initial blockout, while the Blocking Starter Pack helps add more detail and shape the overall geometry.I also used the Polygon City asset pack, which allowed me to populate the streets with vehicles and additional urban elements. In some areas, I incorporated assets from a Low Poly Nature pack as well. By sticking to the materials from the Blocking Starter Pack, I was able to keep the entire blockout visually consistent.

Last but not least, I used 3D Letters to create simple signs that help guide the player through the environment.You can get mentioned assets from here:
-
-
-
-
This is also a good place to mention the other tools I used: Figma and Photoshop, which were especially helpful when designing the overall layout of the level and managing entire content needed for this post.

Step 3: References
When it comes to references, I mainly searched for them on Pinterest. Of course, watching gameplay from Silent Hill 2 Remake was also an important part of the process.

I decided to break my references down into a few key categories: direct atmosphere references from SH2, the vibe of a small American town, an American diner, and a small hotel serving as the player’s main destination.

Step 4: Top View Sketch
I'm gonna be honest - I am not a huge fan of pen 'n' paper. I believe that I can skip this part and jump straight into the engine where I can test geometry, scale and other things on the go and also not spend much time on it.This time though, I decided to sketch my level first. I started with the rough sketch using a pen and some paper. I didn't pay much attention to it as I just wanted to draw something fast and then remade it as a digital version.

The other thing I did here is a small and simple graph that shows the connections between major areas of the level. This element will also be transfered into digital version later.
Step 5: Digital Layout
Text
Step 6: Blockout - Iteration 1
First overall blockout, sense of scale. Blockout tool
Step 7: Blockout - Iteration 2
Adding details to the blockout using Blocking Starter Pack, Low Poly Nature and Polygon City.
Step 8: Blockout - Iteration 3
Detailed Interiors, experimenting with fog and lighting. Adding atmosphere to the level. More details. Additional lights with disabled shadows and inverse squared falloff for smoother blend.
Step 9: Custom blueprints
Breakable Glass, Padlocks, Keys, Doors, Pushable Bin
Step 10: Blockout - Iteration 5
Changes in flow, adding more thinking to getting the final hotel key.
Step 11: Blockout - Iteration 6
Clear Guiding
Step 12: Blockout - Iteration 7
Even though enemies are a very important part of both the gameplay and the level, I decided to introduce them closer to the end of development. Since there are no traditional enemy paths and the encounters are more scripted, I wanted the level to be nearly finished so I could better shape the tension and overall sense of fear.
Step 14: Blockout - Iteration 8
Polish and additional details
Finished Piece and Walktrough
Polish and additional details
old mine camp (Blockout)
Unreal Engine 5 with AGLS
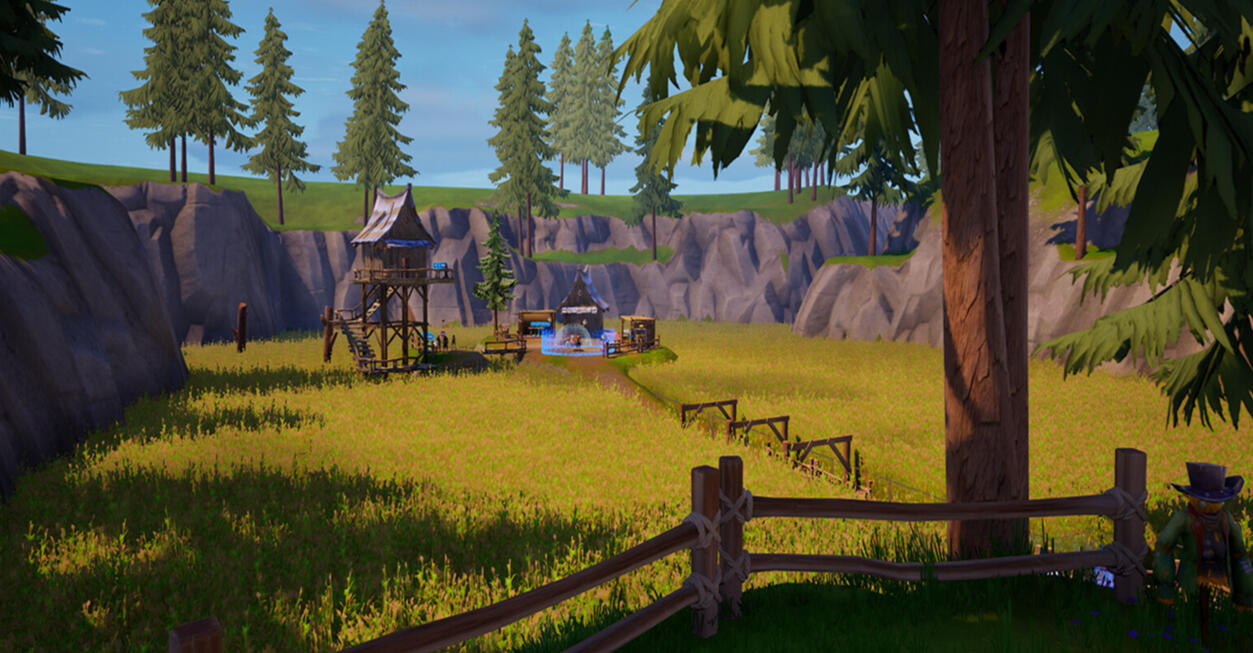
This level is currently work in progress but I can tell it is inspired by the Witcher series.
The level takes place in an abandoned mining settlement that people recently tried to restore to life. Once thriving, the place fell into decay after strange events began to unfold. Workers disappeared, and fear spread among those who stayed.
Check out the slideshow below:
The goal of the level is to explore the settlement, uncover what happened to its people, and face the evil lurking below. The environment combines open exploration with tense, confined spaces inside the mine, gradually building mystery and unease.
WIP
Unreal Engine 5 with AGLS
WIP WIP WIP

I’m a level designer with a background in game design. After gaining experience as a game designer, I realized that my true passion lies in creating immersive and meaningful game worlds.Games have been a big part of my life since childhood, and exploring many different genres helped me understand what makes gameplay feel engaging and memorable.Today, I focus on designing levels that tell stories through space, atmosphere, and pacing - experiences that captivate players and stay with them long after the game ends.I’m also a lecturer who teaches future game developers the fundamentals of Unreal Engine and Level Design.
Days without Level design job:
Check out my games!
My small personal projects

Echo of the Depth
A small horror game about digging with a giant drill. Made in Unreal Engine 5.

Scare the crows
Scare off the evil crows! A small Halloween Project made in Unreal Engine 5.

University of Lower Silesia DSW
(02.2025 - now)
Lecturer
Teaching Level Design and Unreal Engine basics.

Mechano story
(03.2026 - now)
technical game designer
Contributed to an unannounced project using Unreal Engine 4.

Black Drakkar Games
(07.2025 - 10.2025)
level designer
Contributed to an unannounced project using Unreal Engine 5.

Hypnotic Ants
(05.2025 - 06.2025)
game designer
Contributed to an unannounced project using Unreal Engine 5.

Awaken Realms Digital
(08.2023 - 06.2024)
game designer
Dragon Eclipse (Unity)

Mousetrap Games
(09.2021-05.2023)
Game designer
Green Thumb, Cards Up, Dream Room (Unity)